Charging the Terminal
After you remove the terminal and accessories from the box, you need to install the battery and charge it before you can use the terminal. The battery is shipped in the terminal but is not connected to prevent the possibility of a short circuit during transport.
To install the battery and charge the terminal:
- Turn the terminal over.
- On the back of the terminal press the tab to unlock the cover and lift the cover from the terminal.
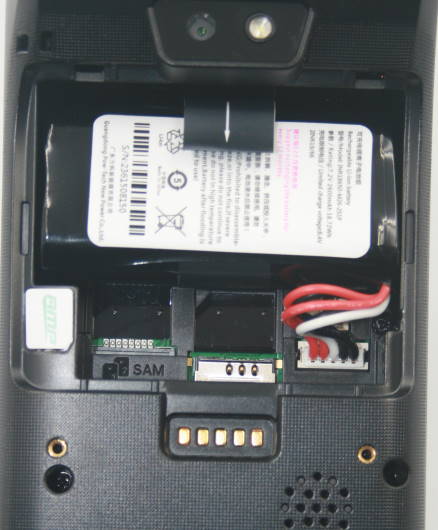
- You should notice a tag on the battery to assist in removal.
- If necessary, lift the battery from the terminal to have better access to the connection port.
- Insert and seat the battery connector in the port, ensuring that the red wires are on the left side and the black wires are on the right.

NOTE: The battery connector can only fit into the port one way and should not require much force to insert.
- Re-install the battery, making sure that the tag and label are facing upwards.
- Re-install the battery cover on the terminal until it snaps closed and turn the terminal over.
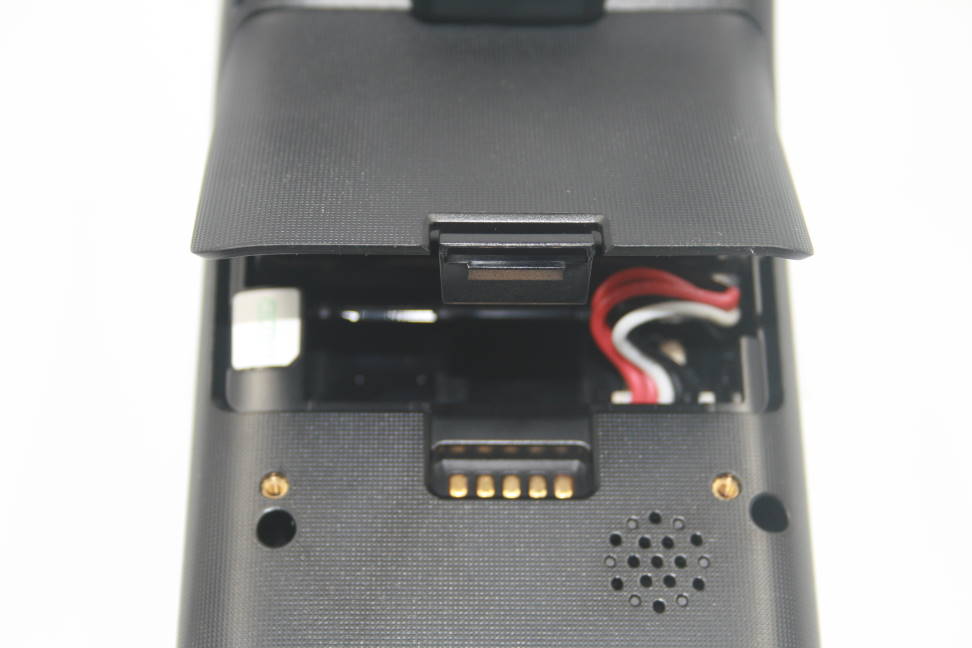
- Insert the charging cable in an AC outlet and insert the micro USB connector in the terminal’s charging port, located on the left side, near the bottom of the terminal. The terminal begins charging.
NOTE: The terminal’s charging port may have a protective cover; you will need to remove it before inserting the micro USB port.